In the age of sustainability, finding ways to reduce waste is more than a trend—it’s a necessity. And what better way to contribute to this eco-friendly movement than by turning your household recyclable waste into something beautiful and functional? Enter the art of crafting handmade paper.
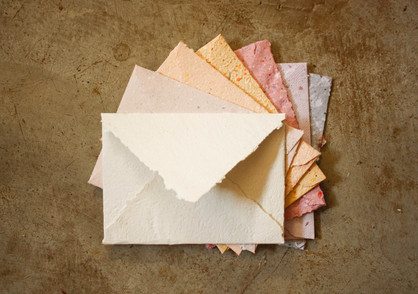
Why Handmade Paper? But why should you consider making your own paper? For starters, it’s an excellent way to repurpose paper waste, such as newspapers, junk mail, and old documents. Not only does this process give a second life to materials that would otherwise end up in landfills, but it also adds a personal touch to your stationery, gifts, and home decor.
Getting Started Before we dive into the how-to, let’s ensure you have what you need. The materials for making handmade paper are surprisingly simple and mostly found within your own home.


Materials Needed:
- Scrap paper (avoid glossy paper)
- Water
- A blender
- A basin or a large pan
- A mould and deckle (or you can make your own with old picture frames and mesh)
- A sponge
- A piece of cloth or felt
- A rolling pin (optional)


The Process Now, let’s break it down into steps:
- Collecting Your Paper Waste Gather your paper waste—anything from old letters to printer paper scraps. Remember, the type of paper you use will affect the texture and color of your finished product.
- Shredding and Soaking Tear your collected paper into small pieces, and soak them in a basin of warm water. The longer you soak, the easier it will be to blend.
- Blending After soaking, move the paper to a blender, and fill it with water. Blend until you achieve a pulp-like consistency.
- Preparing the Mould and Deckle While your pulp is ready, set up your mould and deckle. This contraption will shape and size your paper.
- The Papermaking Pour the pulp into the basin filled with water. Stir it, then dip your mould and deckle into the basin, catching the pulp on the screen.
- Couching (Pronounced ‘coo-ching’) This is the process where you transfer the wet sheet from the mould to a cloth. It’s a delicate process that helps begin the drying phase.
- Pressing Use a sponge to press out excess water, then a rolling pin to flatten and further remove moisture.
- Drying Allow your paper to dry completely. This can take up to 24 hours, depending on the thickness of the paper and the humidity.
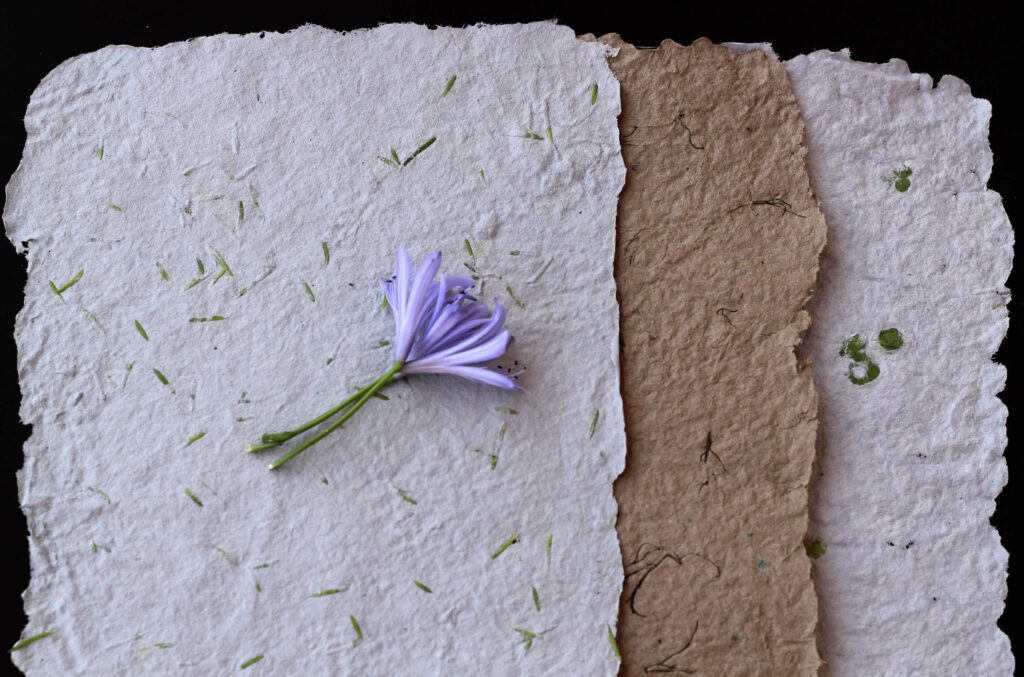
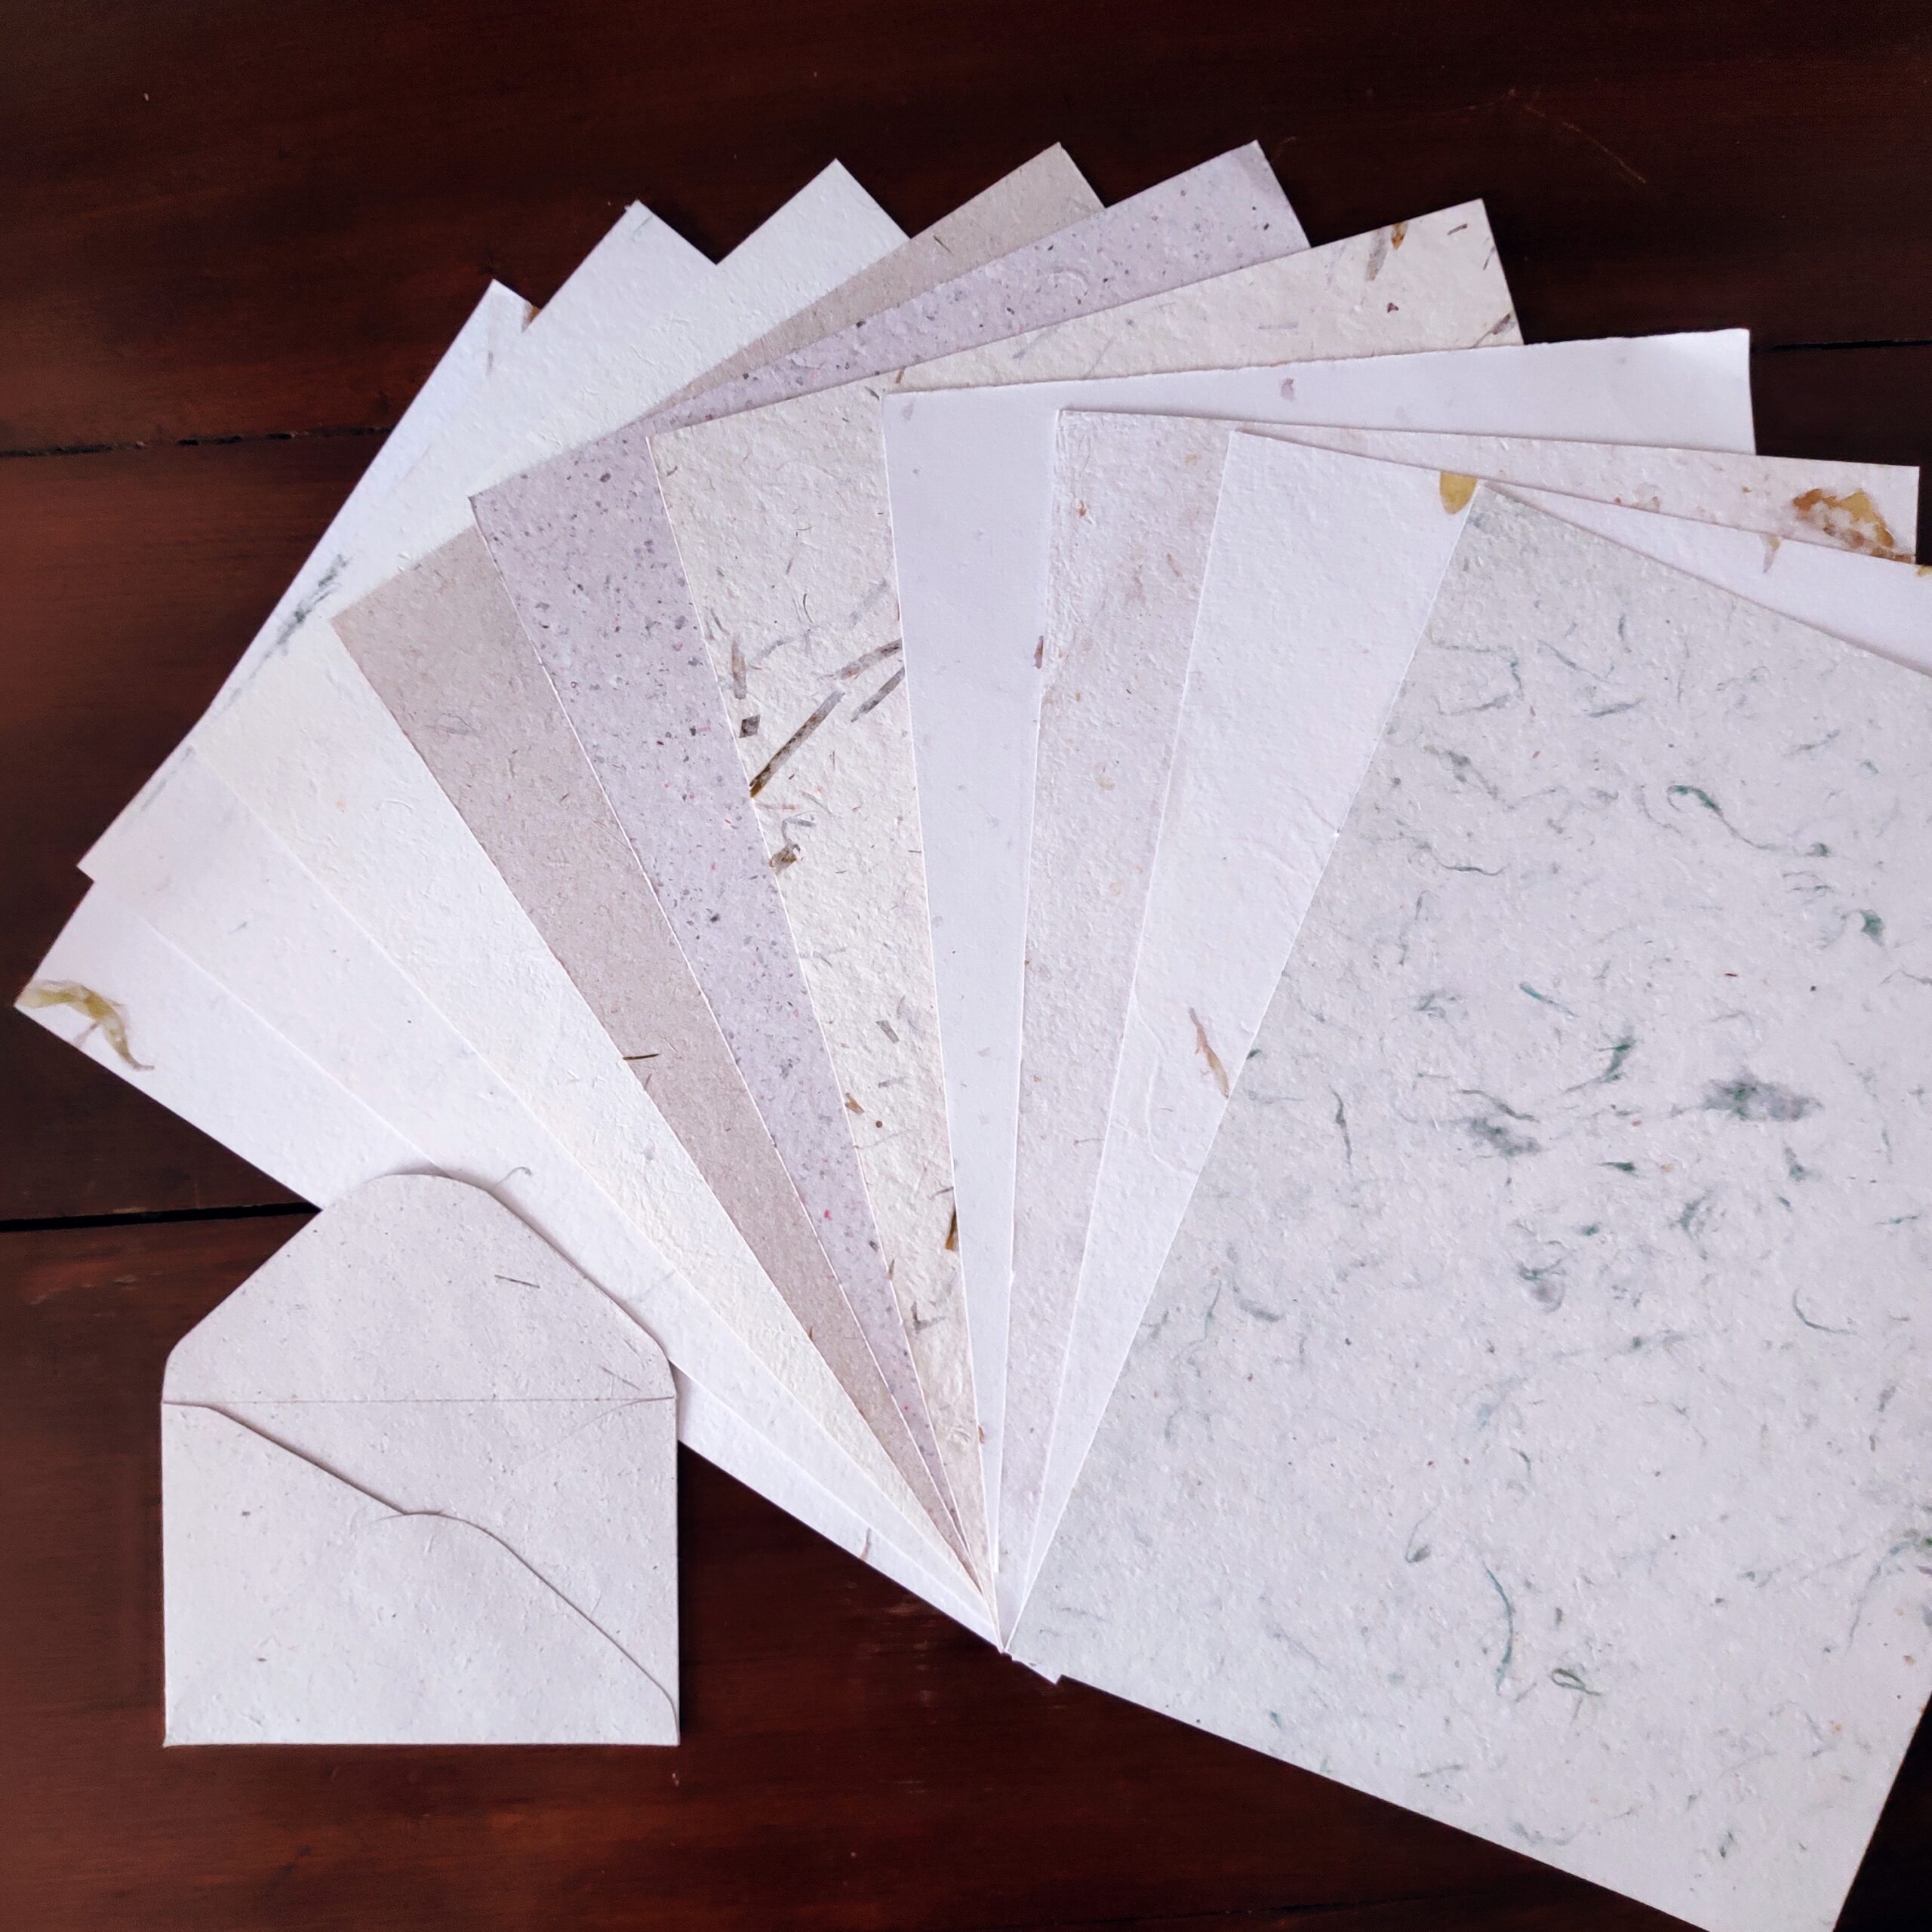
- Enjoy Your Creation Once dry, you have your very own handmade paper, ready for use!
check it out too
- Innovative Uses for Old Smartphones in Home Automation
- Genious Health and Beauty Tips to Save Time and Money
- DIY Solar Power Bank: Harnessing Sunlight


The Benefits – Handmade
The’s benefits of this craft extend beyond just recycling. It’s a therapeutic activity that can reduce stress and provide a sense of accomplishment. Moreover, it’s a fantastic conversation starter and educational tool that can bring awareness to the importance of recycling and sustainability.
Conclusion Making paper from recyclable waste is not just about being crafty; it’s about being conscious of the environment and taking actionable steps towards a sustainable lifestyle. It’s a method that fosters creativity, mindfulness, and respect for the resources we often take for granted.


