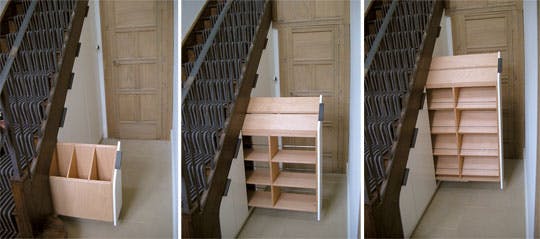
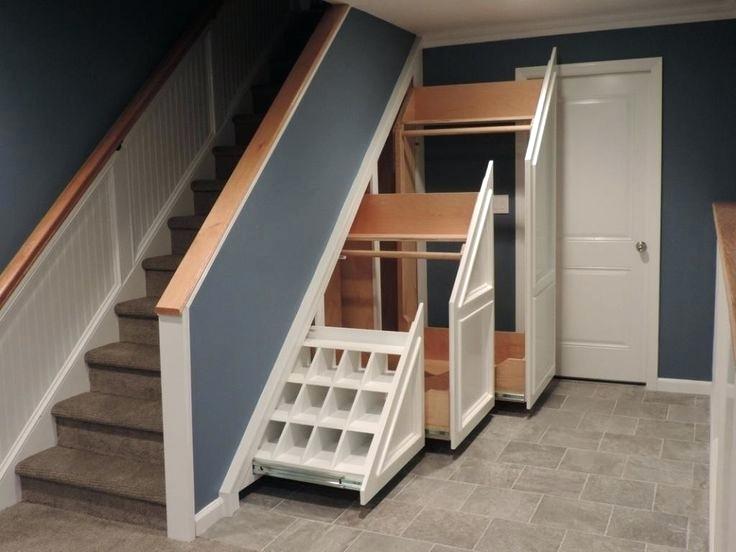
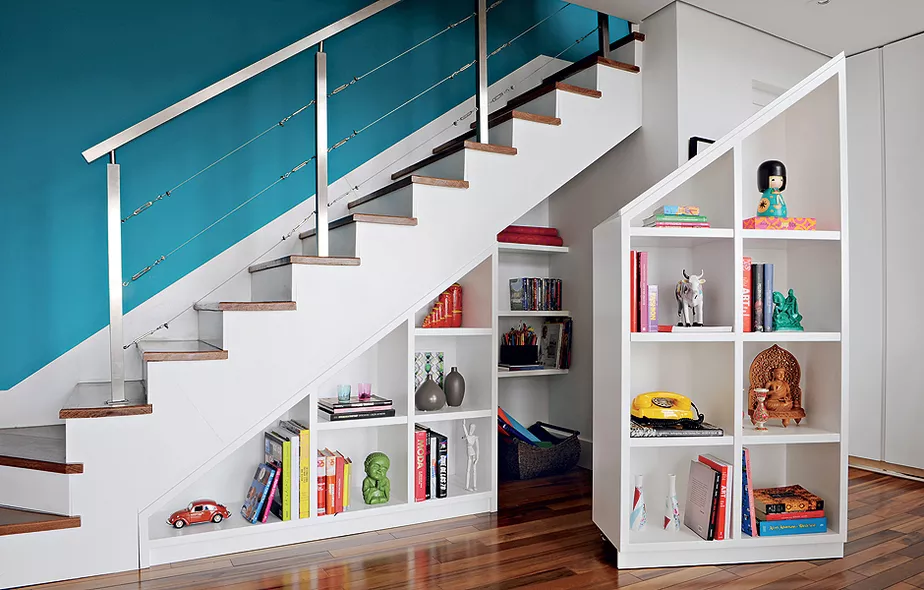
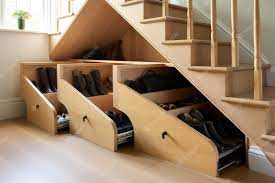
Are you tired of clutter and unused spaces in your home? Look no further than the dead space under your stairs! Transforming this often-overlooked area into a pull-out storage system is not just a clever organization hack; it’s an adventure in maximizing your living space. Join us as we delve into a step-by-step guide that will keep you both informed and captivated.
Introduction: The Magic of Under-Stair Storage
Once upon a time, the space beneath the stairs was a dark, forgotten area. But, with a touch of creativity and a bit of DIY, it can become a treasure trove of storage solutions. Whether you’re a seasoned DIY enthusiast or a newbie with a basic toolkit, this guide is tailored for you.
Begin with a Blueprint: Planning Your Pull-Out Storage
Before you dive into sawing and screwing, it’s crucial to have a clear plan. Measure the available space and decide how many compartments you need. Will you store winter coats, shoes, or perhaps board games? Visualize your storage goals and sketch a rough blueprint. This step ensures that your project aligns perfectly with your needs.


Materials and Tools: The Nuts and Bolts – pull-out storage
You’ll need some basic materials and tools to bring your under-stair storage to life. Here’s a quick list:
- Plywood or MDF panels for the drawers
- Drawer slides
- Screws and brackets
- Drill
- Saw
- Measuring tape
- Level
- Pencil
- Sandpaper
Remember, quality matters! Opt for sturdy materials that can bear weight and withstand frequent use.
Constructing the Carcass: The Foundation of Your Storage
The carcass is the framework that houses your pull-out drawers. It’s like the skeleton of your project. Building a strong carcass is paramount to ensure the durability and functionality of your pull-out system. Make sure to reinforce the joints and check that everything is square and level.
Designing Drawers: The Heart of Your System – pull-out storage
Your drawers are the stars of the show. Their size and number should complement your overall design. When building them, precision is key. Even a small miscalculation can lead to a drawer that sticks or wobbles. Use your blueprint as a reference and double-check measurements as you go.


Finishing Touches: The Beauty Is in the Details
A smooth finish not only looks good but also protects your storage from wear and tear. Sand down any rough edges and consider a coat of paint or varnish. Choose colors that blend with your stairway or add a pop of color for an eye-catching effect.
Installation Insights: Bringing It All Together
Installing your pull-out storage requires patience. Attach the drawer slides accurately, ensuring they run smoothly. Once everything fits perfectly, secure the carcass under the stairs and slot the drawers into place.
Maintenance Matters: Keeping It Pristine – pull-out storage
To keep your pull-out storage in tip-top shape, regular maintenance is essential. Tighten any loose screws and clean the drawers periodically to prevent dust buildup. A well-maintained system can provide hassle-free storage for years.


Conclusion: A Stairway to Organizational Heaven
You’ve turned a mundane space into a multifunctional storage marvel. Not only have you created a solution to clutter, but you’ve also added value to your home. It’s projects like these that transform a house into a smart, organized living space.
Remember, the journey of creating your under-stair pull-out storage system is as rewarding as the destination. Enjoy every cut, every measurement, and every moment of triumph as you witness your vision come to life.
Are you ready to embark on this DIY journey? Grab your tools, and let’s turn that empty space into your new favorite storage area!
check it out too
- Reviving Old Tools: A Guide to Restoration
- DIY Solar Power Bank: Harnessing Sunlight
- Customizing Reclaimed Wood: Building a Rustic Coffee Table


