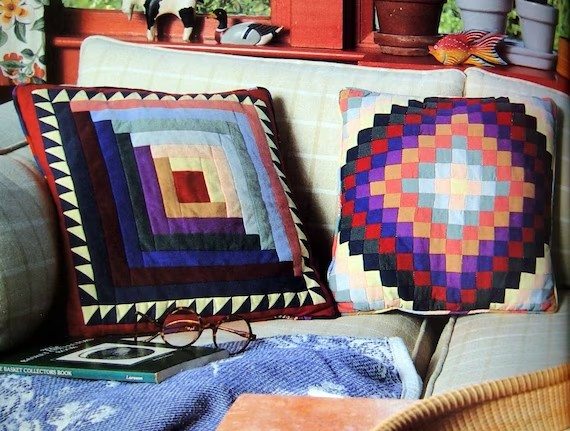
In the realm of crafting and DIY, few activities bring as much satisfaction as the restoration of vintage quilts. These treasured pieces of history not only hold aesthetic value but also carry the sentimental weight of past generations. As budding enthusiasts in the age bracket of 25 to 45, you may find yourselves drawn to the intricate art of quilt restoration. This article aims to educate and inform you about the fundamental hand sewing techniques necessary to breathe new life into vintage quilts.


Understanding the Basics: Vintage Quilts The Fabric of Time
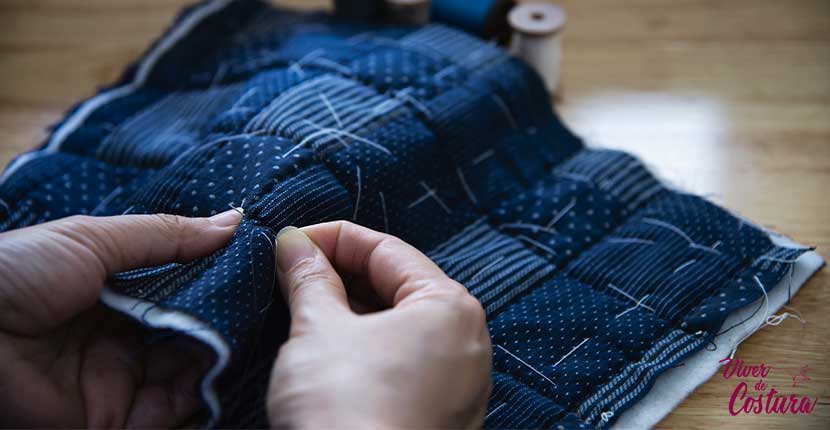
Vintage quilts often tell a story, woven into their very fibers by the hands that crafted them. Before diving into repair work, it’s critical to understand the composition of these quilts. The fabrics used in the past differ significantly in terms of weave and durability compared to modern textiles. This knowledge will guide you in selecting the right thread and needles, a key step in the mending process.
Thread the Needle: Choosing Your Tools
Selecting the right tools is half the battle won. For vintage quilt repair, you’ll want to use cotton thread that matches the age of the quilt. A thin, sharp needle is essential to avoid further damage, making it easier to navigate through delicate, aged fabrics.


Stitch in Time: Hand Sewing Mastery – Vintage Quilts
- Running Stitch: The backbone of hand sewing, this simple stitch is both functional and decorative. Use it for seams or simple repairs.
- Backstitch: Strong and durable, the backstitch provides the reinforcement needed for areas under stress.
- Whipstitch: Perfect for binding edges or appliqué work, the whipstitch is both versatile and discreet.
- Invisible Stitch: Also known as the ladder or slip stitch, this technique is ideal for closing seams without visible thread.
check it out too
The Patchwork Path: Mending with Care
When it comes to mending tears or worn areas, patching is a respectful nod to the quilt’s history. Choose fabric that complements the original – in color, pattern, and age, if possible. Cut your patch with pinking shears to prevent fraying and use an invisible stitch to blend it seamlessly with the original material.


Quilting the Quilt: Adding Layers of History
Sometimes, the best way to preserve a quilt is to add to its story. Quilting new layers onto the old not only secures fragile areas but also allows for personal creativity to shine through. Keep your stitches even and your tension consistent for a result that honors the quilt’s legacy.
Binding the Edges: The Final Frame
Fraying edges on vintage quilts are common. Carefully remove the old binding, if present, and replace it with fresh fabric that respects the quilt’s palette. A blind hem stitch will secure the new binding without detracting from the quilt’s vintage charm.


Preservation Over Perfection Vintage Quilts
In repairing vintage quilts, our goal is not to make them look new, but to preserve their essence. Embrace the imperfections and inconsistencies that tell the quilt’s story. Each stitch you make adds to the narrative, creating a bridge between the past and the present.
Conclusion: The Tapestry of Time
As you embark on this journey of restoration, remember that you are not just repairing a quilt; you are preserving a piece of history. The techniques described here are your tools to ensure that these vintage treasures can be enjoyed for generations to come. With patience, respect, and a needle in hand, the stories woven into the fabric of these quilts will continue to be told, one stitch at a time.


