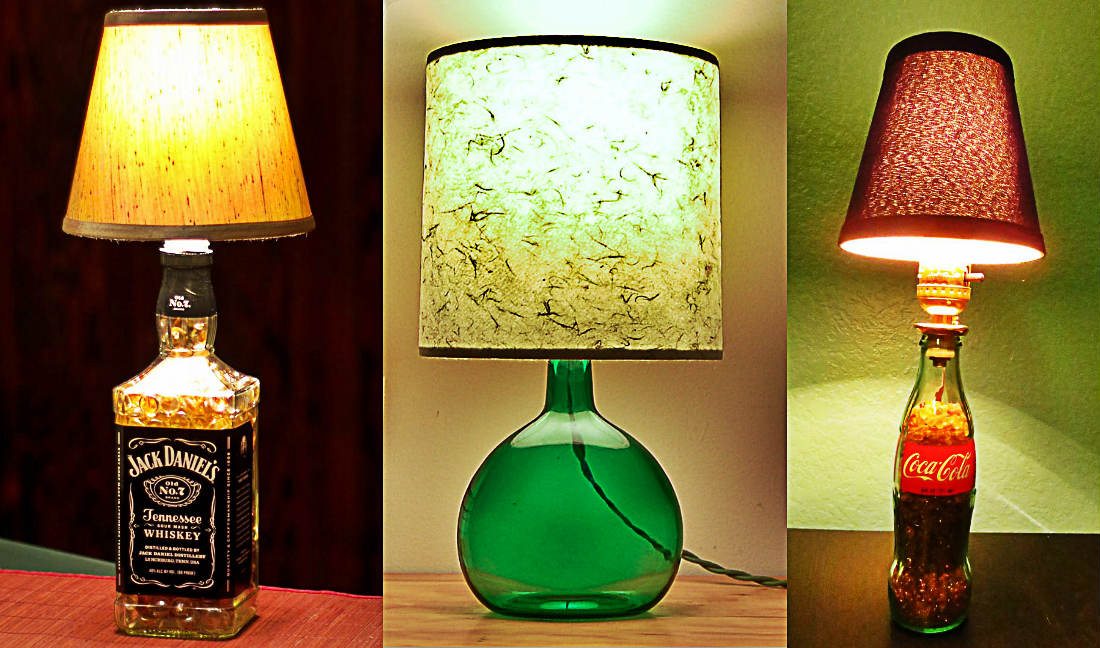
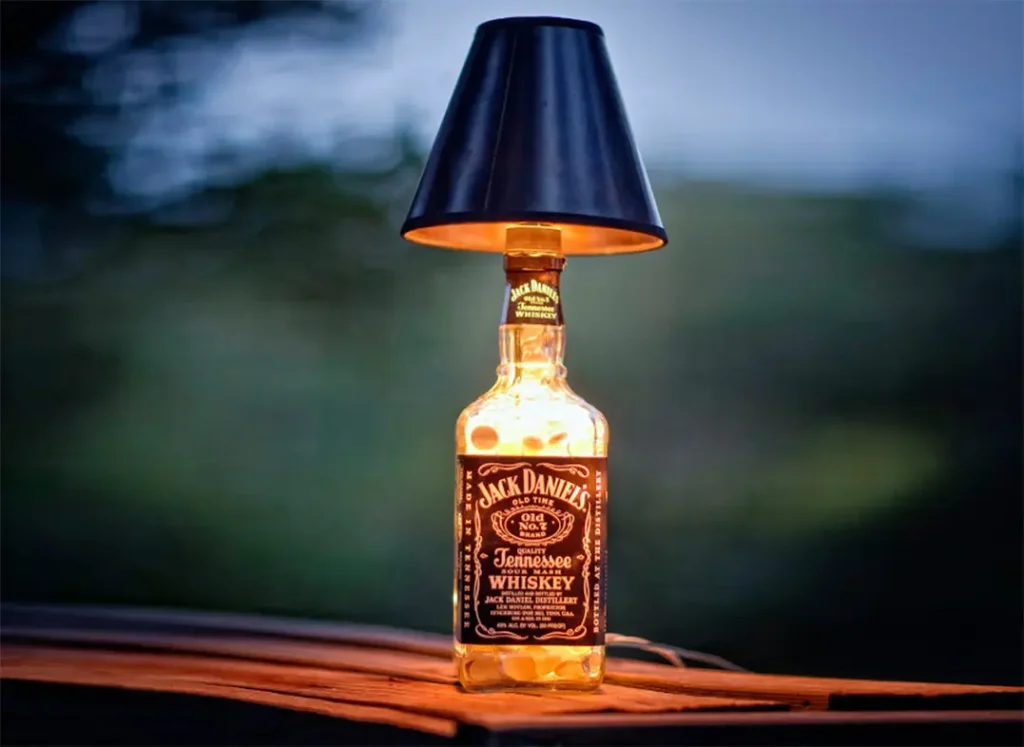
Are you looking for a unique way to spruce up your home decor while being eco-friendly? Look no further! Upcycling glass bottles into customized, etched lampshades is not only a fantastic way to reduce waste but also gives your space a touch of personalized charm. Let’s dive into this DIY project that’s capturing the hearts of Americans from coast to coast.

Why Upcycle?
Before we delve into the ‘how-to,’ let’s talk about the ‘why.’ Upcycling is more than just a trend; it’s a lifestyle choice that reflects a commitment to sustainability. By transforming an old glass bottle into a beautiful lampshade, you’re giving a second life to a product that otherwise might end up in a landfill. Plus, each piece tells a story and adds character to your home – something that store-bought decor can rarely claim.
Choosing Your Bottle – lampshades
The first step in this upcycling journey is selecting the right bottle. Wine connoisseurs, rejoice! That empty bottle of Merlot can become the centerpiece of your next project. Here’s what to look for:
- Shape: Look for bottles with interesting shapes that will cast beautiful shadows when lit.
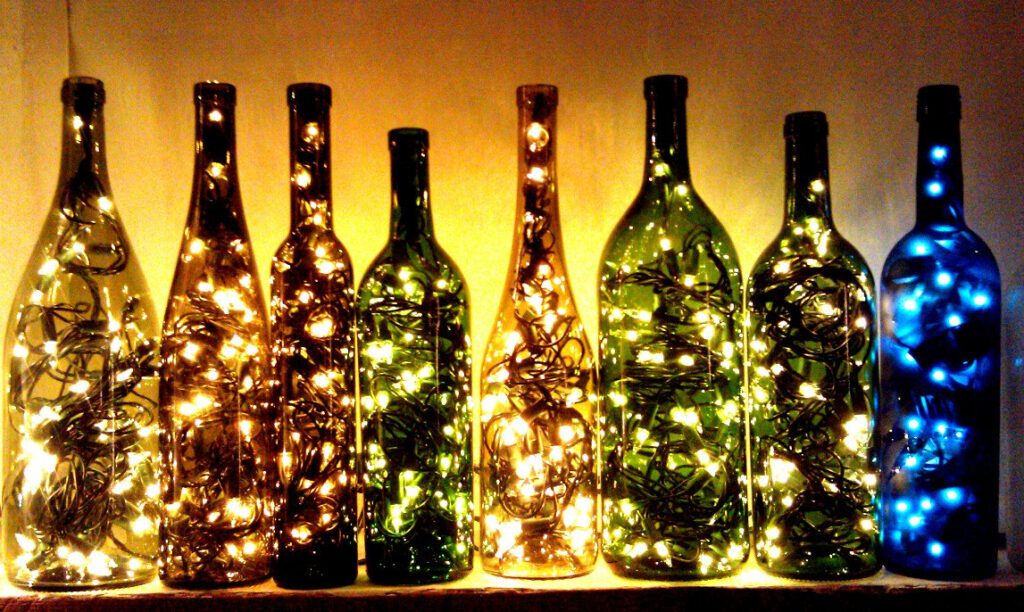
- Color: Consider the ambiance you want. A clear bottle provides a crisp light, while colored glass can add a warm glow.
- Size: Make sure it’s large enough to serve as a lampshade but not too bulky to handle.

Cleaning Up
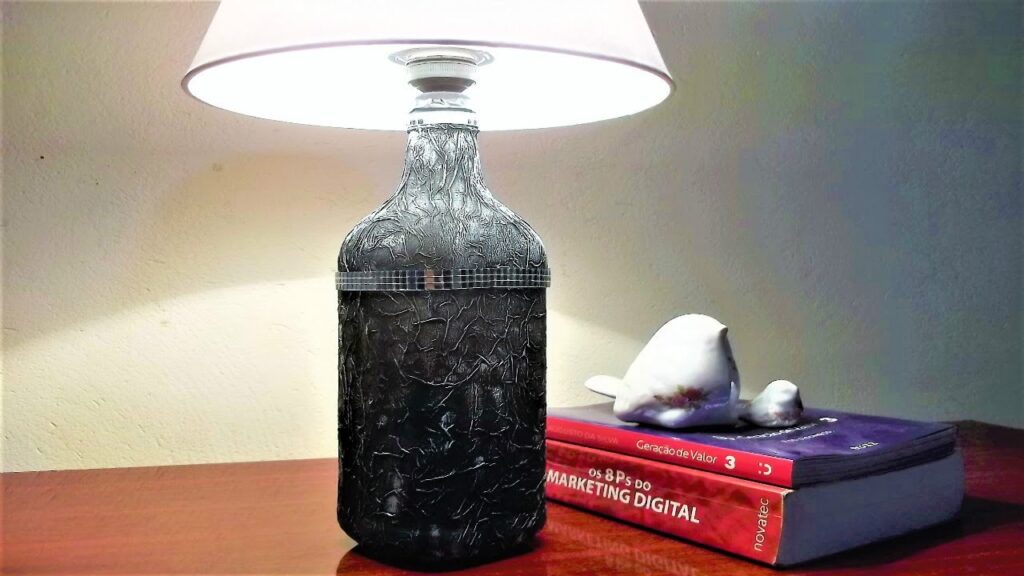
Once you’ve picked your bottle, it’s time to clean it thoroughly. Remove labels by soaking the bottle in warm, soapy water. A razor blade can help scrape off any stubborn residue. Ensure the bottle is completely dry before you move on to the next step.
Getting Creative with Etching
Etching your glass bottle is where your creativity can shine. You can use etching cream and stencils to create intricate designs. Here’s a condensed guide:
- Apply a stencil to the area you want to etch.
- Spread a thick layer of etching cream over the stencil.
- Wait for the recommended time on the etching cream instructions.
- Rinse off the cream with water, and peel away the stencil.

Safety First
Remember, when working with etching cream, always wear gloves and work in a well-ventilated area. Safety goggles are not a bad idea either.
Assembling Your lampshades
Now that your bottle is etched to perfection, it’s time to turn it into a lampshade. You’ll need a lamp kit, which you can find at any hardware store. Follow the kit’s instructions to assemble your lamp. The key steps usually involve:
- Feeding the wire through the bottle.
- Attaching the socket.
- Adding a bulb.
The Final Touch
Place your new lampshade on a lamp base, switch it on, and bask in the glow of your creation. It’s more than a source of light; it’s a conversation starter, a testament to your creativity, and a small step toward a more sustainable world.
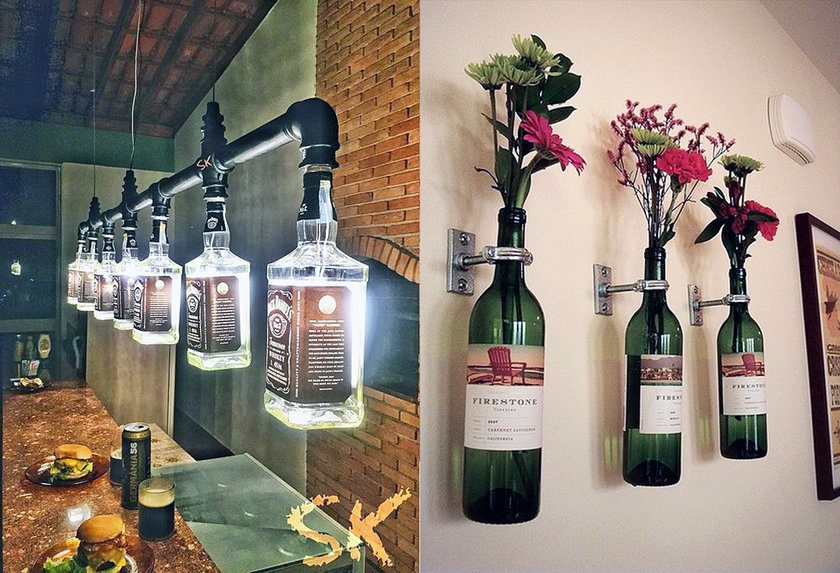

Why This Project Rocks – lampshades
- Sustainability: It’s eco-friendly.
- Personalization: Your design is one-of-a-kind.
- Cost-Effective: Save money by DIY-ing.
- Fun: Enjoy the process of creating something by hand.
In Conclusion
Upcycling glass bottles into customized etched lampshades is more than just a craft; it’s a statement. It’s a way to show off your commitment to the environment, your resourcefulness, and your artistic flair. So, gather those bottles, roll up your sleeves, and get ready to transform the ordinary into the extraordinary.
Remember, upcycling isn’t just about saving the planet—it’s about unleashing your creativity. And who knows? Your next upcycled masterpiece might just light up someone else’s world, too.
check it out too
- Genious Health and Beauty Tips to Save Time and Money
- An Eco-Friendly Cleaner: The Guide with Soda and Vinegar
- Smart meal Prep: Clever Kitchen Hacks for Space-Saving Storage


